1 Comment
After almost three years of living this homesteading lifestyle, I have learned a valuable lesson; start small, and dream big.
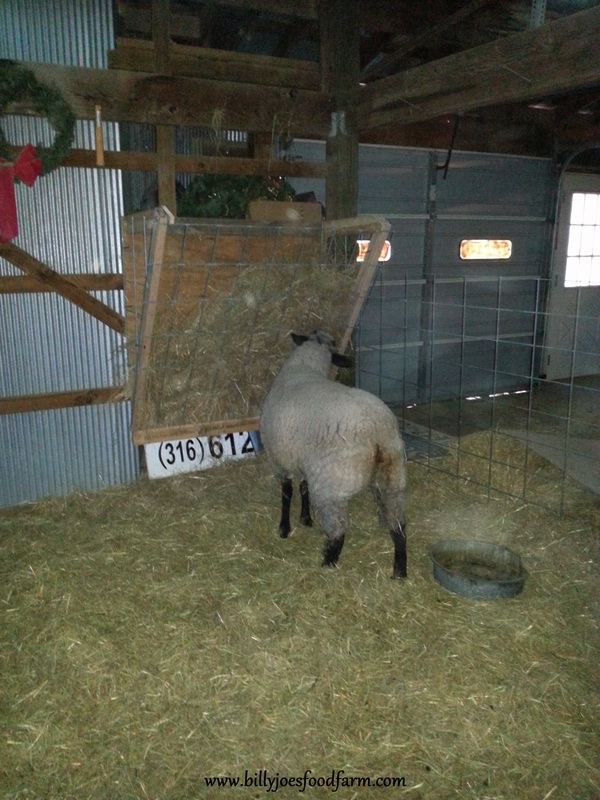
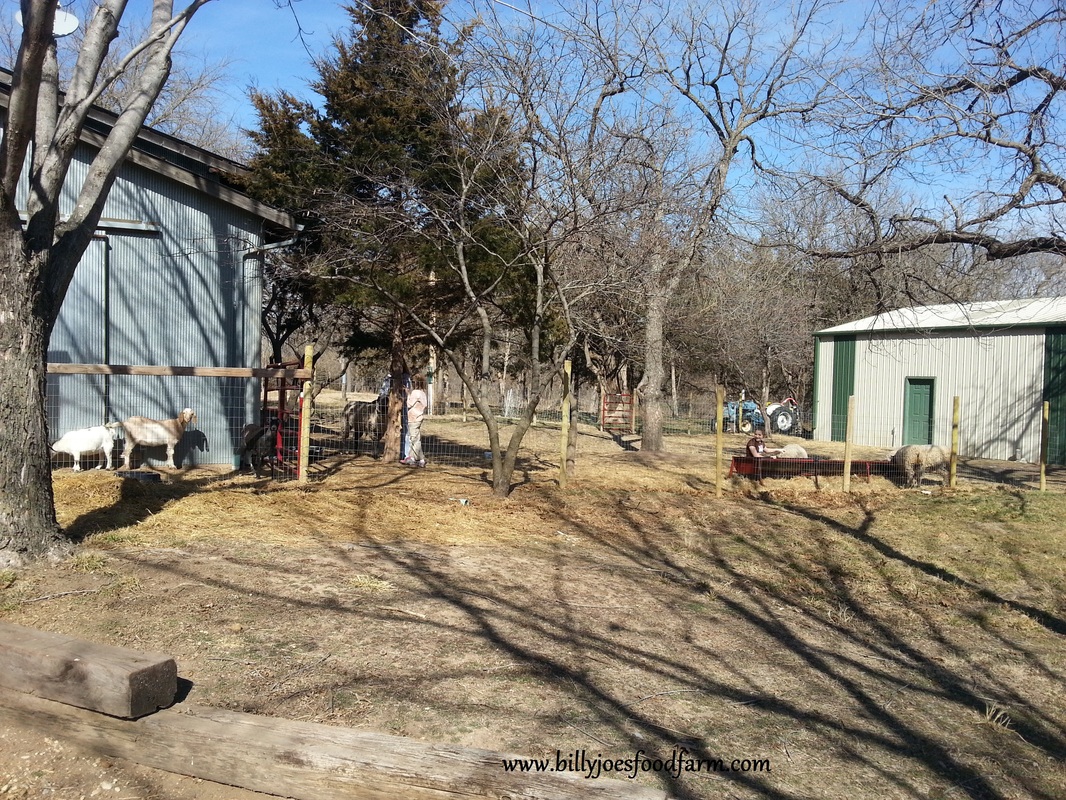
I have a very bad habit of aquiring animals that I think suit our purposes, before I have their buildings/stalls/fencing/enclosures finished. I am now in the position of having to sell half of our stock, because I do not have the pastures available to them to forage. That means that every bit of what they eat has to be purchased, which just isn't practical. In addition, there does not seem to be much of a market in our area for sheep, which makes it nearly impossible to recoup any money spent feeding them through the year. The main lessons? Know your market, know your own strengths and weaknesses, and concentrate your efforts on one or two species. I am grateful for this experience, and know now that I am simply not the kind of person who can keep a menagerie and still break even, let alone make a profit. I know some who do, and I applaud them. But for us, scaling back and rethinking our business plan is our plan of action. And I will no longer bring any animal to the farm without having the space available for them. Learning this lifestyle is certainly an ongoing project. But it is absolutely one that is full of lessons worth learning. Thanks to Rebecca Nickols for featuring our coop in Community Chickens!
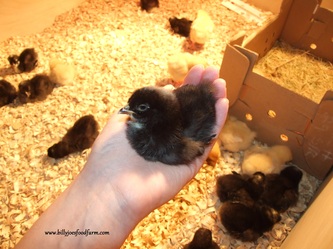
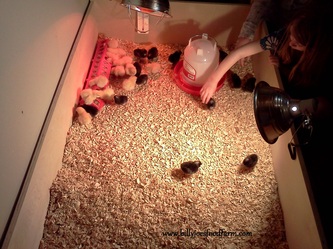
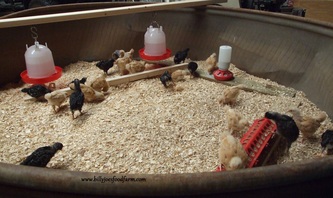
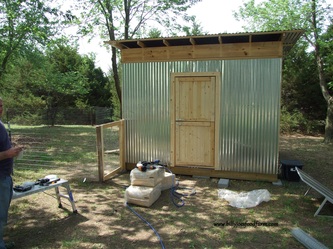
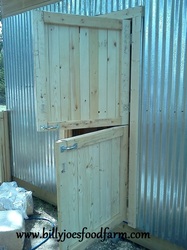
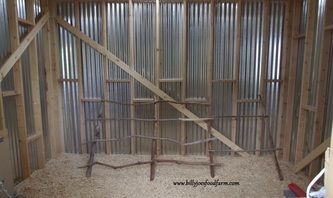
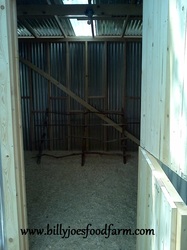
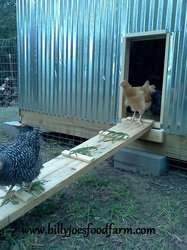
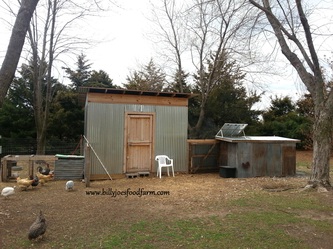
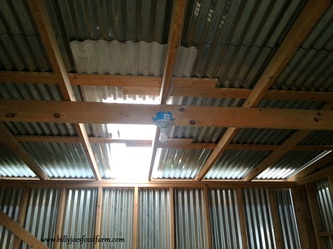
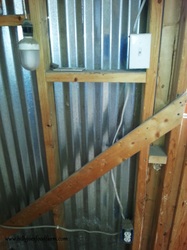
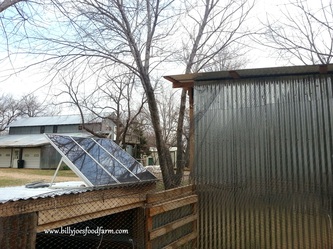
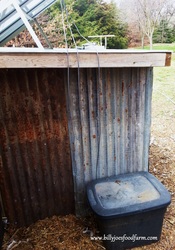
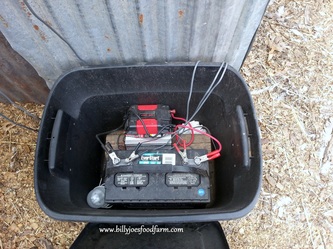
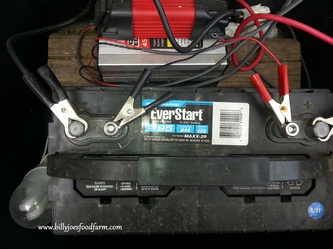
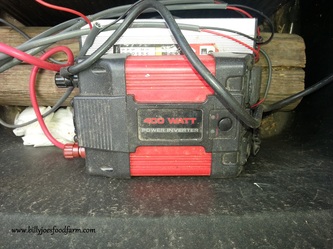
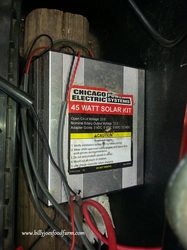
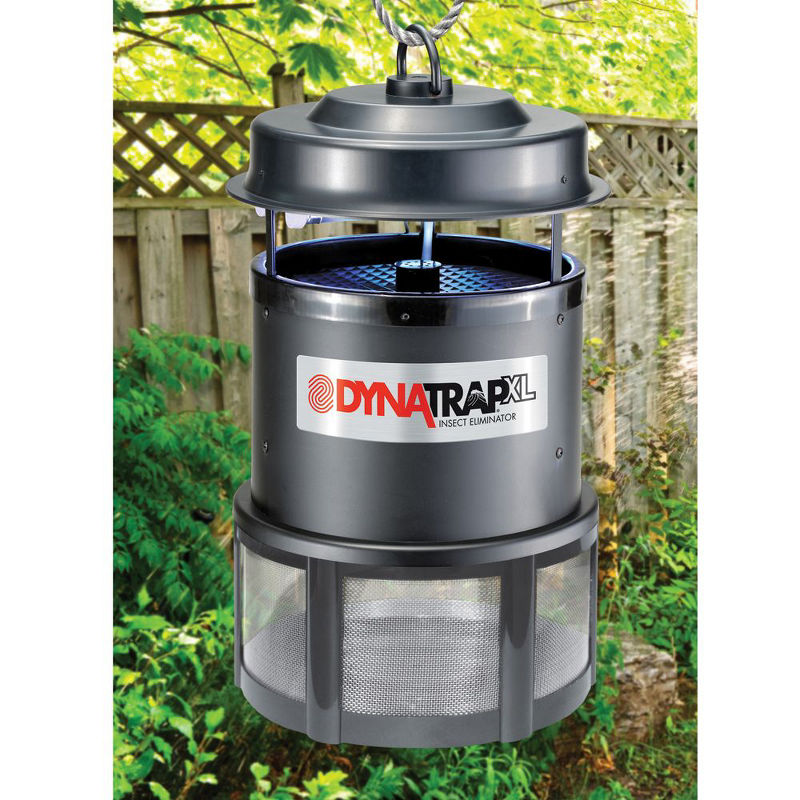
http://communitychickens.blogspot.com/2013/04/cool-coops-solar-power-chicken-coop.html *This article was originally posted on December 27, 2012, and has been reworked with more photos and additional information.* We moved to this property in November of 2010, and it had never been used as a farm with animals. The back land had been farmed for hay, and twenty five years ago (before the house was built), there were horses kept on the property, but when we bought the place it was not set up for homesteaders. Our new place does have a barn that had been used in the past for the horses, but it was wide open on the inside, with no stalls or gates. The people we bought the place from had used the barn for storage, and had stripped it bare of any livestock keeping capabilites. We had our work cut out for us to try and build, bit by bit, into self sufficiency. I figure that might take the rest of our lives. The first animals I purchased were day old chicks; 14 Buff Orpingtons and 13 Barred Plymouth Rocks. When they arrived of course I had no coop, and it was freezing outside anyway. We set up an area in the basement with a heat lamp, some wood chips, and some hastily screwed together pieces of wood to make a rectangle shaped enclosure. We then got to work figuring out what we wanted for the coop. I still to this day have a terrible habit of buying the animals that are part of my plan BEFORE I have their enlcosure or fencing done, but I suppose that is another post for another day. While we were trying to get the coop finished, the birds grew to the point that we could no longer keep them in the house. We moved them out to the shop, into a big round bale holder that was out in one of the pastures that was here when moved in. It worked well for the teenaged birds through January and February, and we kept a couple of heat lamps there for them to keep them warm as they finished feathering out. Toward the end of their stay in the shop, the birds had all their feathers and could fly out of the trough. As a result, the shop was COVERED in poo; we couldn't get the coop done fast enough. We built our chicken coop off of the ground so digging predators couldn't tunnel into the building, and the walls are metal so snakes can't slither up into it. The hatch has a lock on the inside, so the raccoons and possums can't raid the joint at night. Mr. Food Farm used two pieces of clear corrugated fiberglass in the roof to let light in, and made Dutch doors so that we could check on the birds without letting them out if we needed to do so, or to leave the top half open for ventilation without leaving the entire coop open to would-be egg eaters. The floor is solid plywood, with some leftover linoleum from our old house on top of the plywood, so that the plywood wouldn't get wet and rot. The back ladder style roost is made of a big crepe myrtle that had died and left behind it's perfectly round, smooth branches and trunks. I have a couple more single rung roosts in two of the corners, as well as a row of six nesting boxes. Being interested in self sufficiency lends itself to wanting to be off grid, and we thought a small project to begin with would be a good way to learn. We decided to install a solar system on our chicken coop, to run a light during the days when sunlight is in short supply. A hen will lay eggs based on the number of hours of sunlight during the day, which is why they traditionally lay more in summer and less in winter. If you keep a light in the coop, it tricks them into laying almost all year round. Our system was purchased at Harbor Freight two years ago, and has been running the light in our coop ever since with no problems. It is a three panel system, each panel putting out 15 watts for a total of 45 watts. You can add more panels to this, but we have not done so yet. We have used the power generated by these panels to run the light, a fan during very hot nights, and an electric drill when we were building next door to the coop. We don't use our system to run a heater for the building or for water; we bought winter hardy chickens so that we wouldn't need a heater, and we also keep ducks in our coop, so no water is allowed in the building or the ducks would have the place flooded. Inside the coop is the light on the ceiling, the switch next to the door that is hard wired to the light, and an outlet that is hard wired as well. The light fixture is a standard fixture that you can get at any hardware store, as is the electrical wiring, the outlet and the switch. The only thing that is different about a solar system is that the wiring goes to a plug, rather than a fuse box. The plug is inserted into a 400 watt power inverter, which we purchased seperately. The inverter is hooked to the battery, to the positive and negative posts. The voltage regulator is wired to the battery and to the solar panels. Our three panels are on top of our broody house, which is built next to the coop (although it currently has a mama Nigerian Dwarf goat and her twins, and no birds). From the panels, wires run down into a black plastic bin, which holds the battery, the inverter and the regulator. Wiring from the regulator then runs out of the plastic bin to the solar panels. The panels soak up the sun, the current runs down the wires into the regulator, which is then stored in the battery where it waits until we flip the lightswitch. When we do, the power in the battery runs into the inverter, which changes the power from DC to AC, then the AC power is run from the inverter into the wiring for the coop via the plug. I really don't know much of anything about electricity, or solar power, although I know more now since we installed this unit. I thought that this small system would be a great introduction for us to get into solar power, and I am really impressed. We plan to buy more panels in the future, and slowly move over to solar power. Know that we have dipped our toes into free energy, we are thinking about adding a wind turbine, too. Being free of an electricty bill is certainly a goal worth working toward, and this system can get you on your way. Read the reviews of the Harbor Freight solar panel kit here, loads of helpful information from others who have set up this kit for all sorts of uses. I know there are more knowledgable people there who have left comments that might answer any questions you have about how this kit works, although I will try to do so as well. If you want to catch bugs to feed to your birds, without the worry of chemicals or even decay, try this bug catcher. We bought it years ago when we lived in the city, for mosquitos. This contraption catches ALL manner of bugs, and doesn't kill them. During the spring and summer, this hangs at the far end of our front porch at night, and then the birds get the contents in the morning. It is a bit pricey, but it serves two purposes (which all things must do around here, at least), and it lasts a very long time. We have had ours for over five years, and have only had to replace the lightbulbs once. You can buy this bug catcher at Hammacher Schlemmer, which is a fantastic company that stands behind their products forever. Hammacher is American born and raised, has been around since before the civil war, and guarantees whatever you buy for the rest of your life. I receive nothing for this post, I just really like this little tool. "I can't eat eggs, I have high cholesterol."
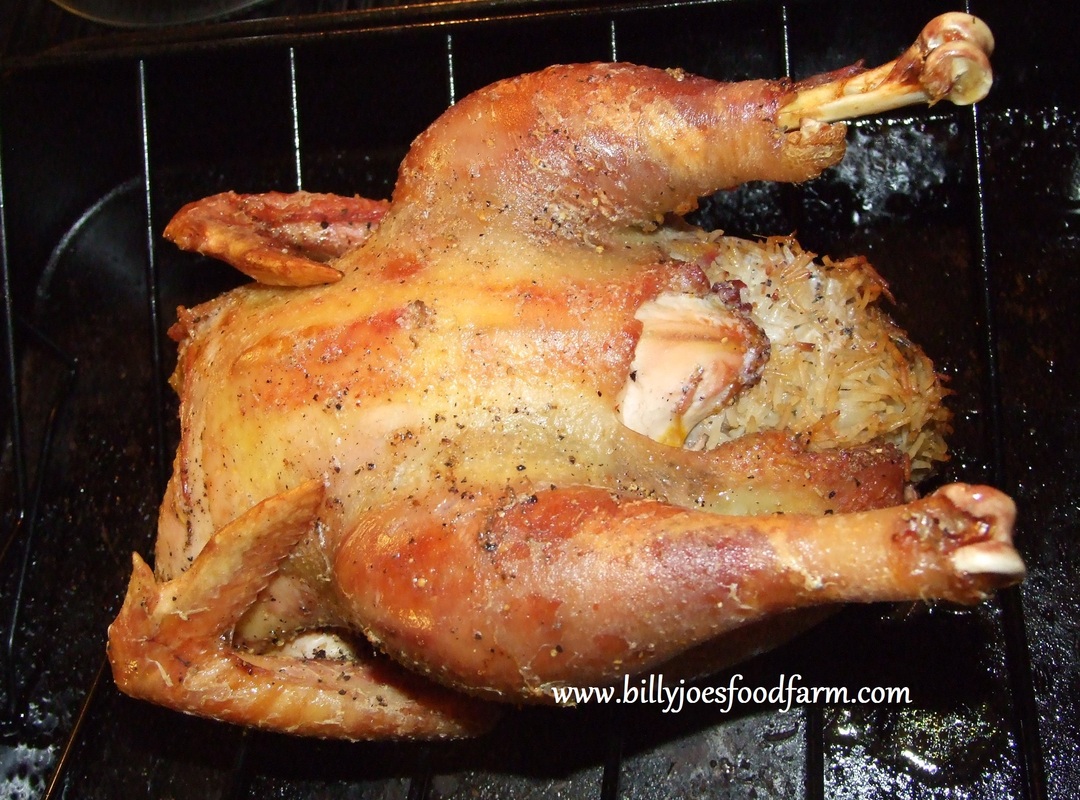
How many times have you said this, or heard someone else say the same thing? Turns out, eggs being bad for you is a myth from the 60's. In addition, if you keep the birds yourself and let them eat grasses and bugs, eggs are actually GOOD for you!! From Mother Nature Network's article 10 False Facts Most People Think Are True... 8. Cholesterol in eggs is bad for the heart The perceived association between dietary cholesterol and risk for coronary heart disease stems from dietary recommendations proposed in the 1960s that had little scientific evidence, other than the known association between saturated fat and cholesterol and animal studies where cholesterol was fed in amounts far exceeding normal intakes. Since then, study after study has found that dietary cholesterol (the cholesterol found in food) does not negatively raise your body’s cholesterol. It is the consumption of saturated fat that is the demon here. So eat eggs, don’t eat steak. See the rest of the list here: http://www.mnn.com/lifestyle/arts-culture/stories/10-false-facts-most-people-think-are-true And from Mother Earth News, How Do Your Eggs Stack Up?... In 1999, Pennsylvania pastured poultry producer Barb Gorski used a grant from the USDA’s Sustainable Agriculture Research and Education program to have meat and eggs from her own birds and those of two other farmers tested for a range of nutritional factors. The pastured eggs were found to contain 10 percent less fat, 34 percent less cholesterol, 40 percent more vitamin A and four times as much omega-3 fatty acids compared to the standard values reported by the USDA for commercial eggs. (Numerous studies suggest that diets high in omega-3s can help protect against heart disease, mitigate the effects of Type II diabetes and otherwise benefit the human body’s immune responses.) The pastured chicken meat (with skin on) contained 21 percent less fat, 30 percent less saturated fat and 50 percent more vitamin A than the USDA standard. Read the rest of the article here: http://www.motherearthnews.com/Real-Food/2007-04-01/Best-Eggs-Comparison.aspx?page=2#ixzz2OYt53h18 And trust me, chicken coops do not have to be fancy, not do you have to spend $1,500.00 on those tiny custom built jobs that you often see in catalogs and farm stores. Almost anything will do, as long as you can keep them locked up tight from predators at night. Be creative! And get some birds!! The only way to be sure where your eggs are coming from is to raise them yourself, because even the high priced "cage free", "free range" kind of eggs at the store are often from the same factory produced cheap eggs; the labeling can be misleading because of the FDA and USDA allowed definitions of those labels. Put your health first; get your own birds, and produce your own healthy, good for you eggs. If you garden, nothing beats using your own bird manure. Your produce waste can be fed to the birds and turned into eggs. And at the end of her laying life, you have a stewing chicken that has been raised on good food, so you are now producing healthy meat too. It's spring. Go get some birds, and enjoy them and their product Join us on our Facebook page, for more of a conversation, rather than the post of the day format.
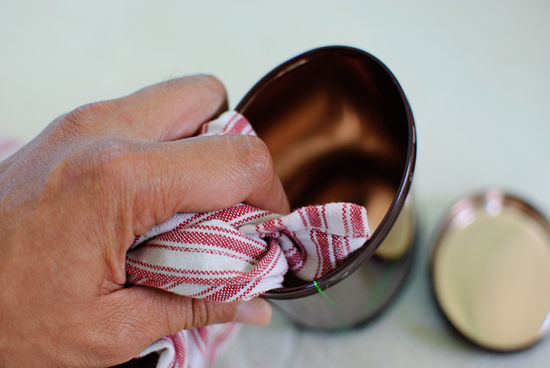
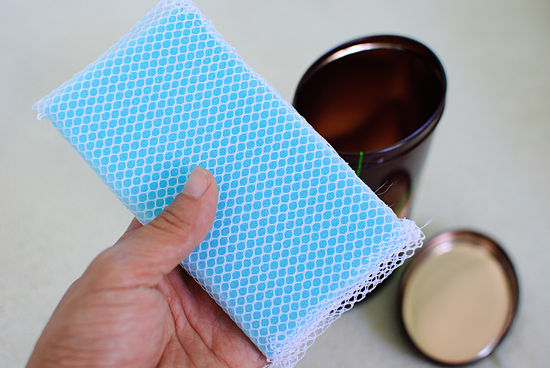
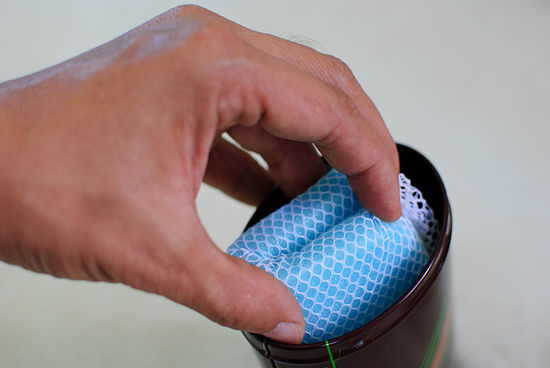
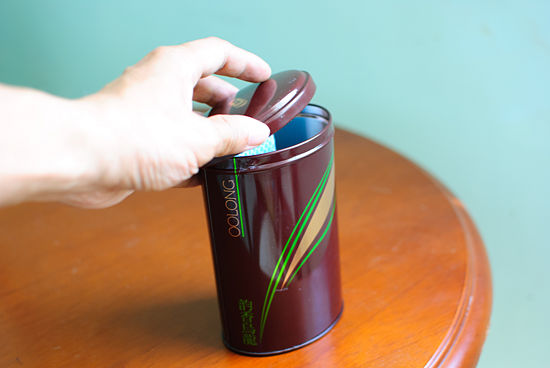
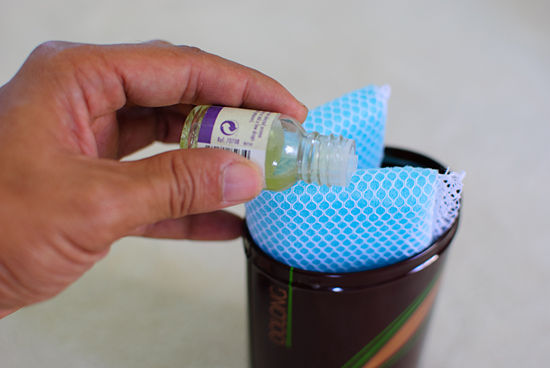
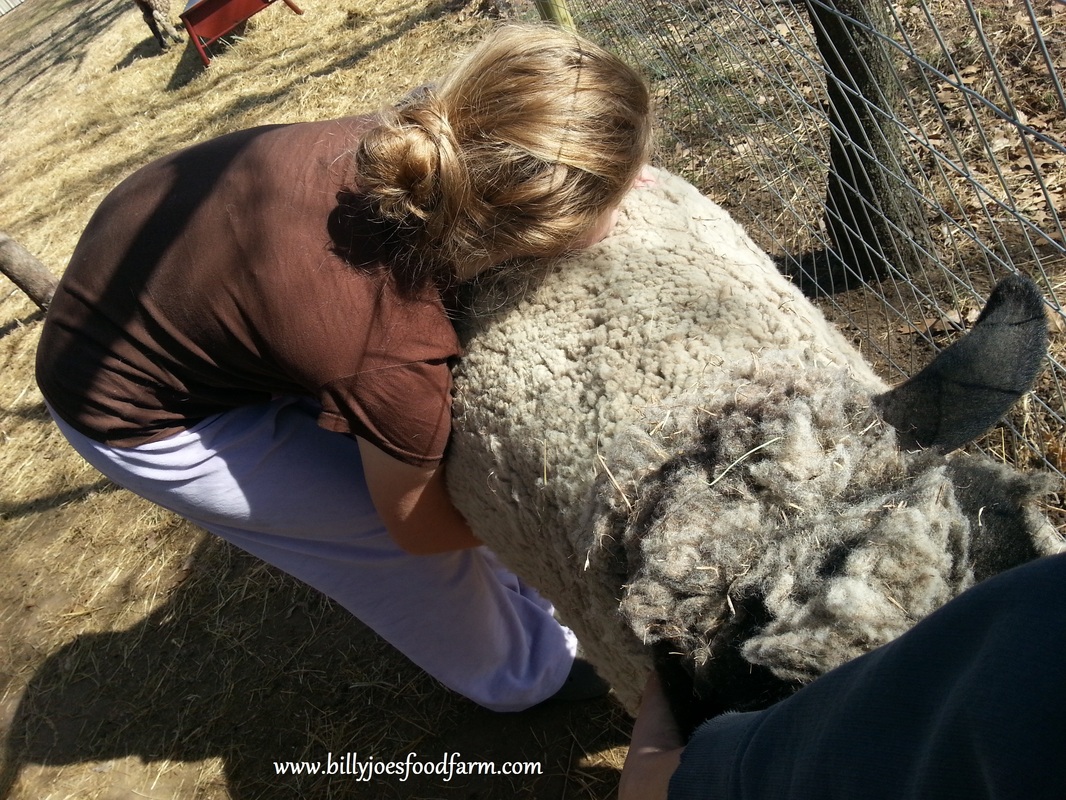
You can find us here, https://www.facebook.com/BillyJoesFoodFarm. Don't forget to "like" the page, and click "show in newsfeed" and/or "get notifications" so that you won't miss our Facebook posts. Having farm animals provides many benefits. However, along with the fleece, the milk and the eggs, we also have a LOT of flies. Just sitting on the porch can become a trial. This spring, I am going to try using essential oils as a deterrent. From wikihow.com... Tired of fly sprays and the unwanted chemicals they contain? Are you constantly being bothered or bitten by unwanted pests in your own back yard? There are some very easy solutions to keeping flies away from the outdoor dining area, and you can do them all yourself. Read on for some helpful tips and hints! Clean out a small tin with a lid. This will be the "home," so to speak, for your repellent. Take a clean piece of cloth or a small piece of dish sponge able to fit into the container. Saturate it with one of the following oils (after it has been diluted appropriately, see Tips): Lavender oil - lavender is considered to be particularly effective against flies Citronella oil (dilute with water first) Eucalyptus oil (dilute with water first) Pennyroyal oil (dilute with water first) Peppermint oil (dilute with water first; likely more effective against mosquitoes but also considered to work against horse-flies. Lemongrass oil (dilute with water first) Place the cloth in the tin and shut the lid. Allow to sit for 24 hours. Use as needed. Whenever you need to use the tin, remove the lid and place on the entertaining table. Make as many as you wish to put around the entertaining area to deter flies. Replenish the oil after each use; once open to the air, the strength weakens and needs to be topped up. Read other tips about using herbs and essential oils for insect repellants at WikiHow - How to make natural repellents with essential oils. |


 RSS Feed